...
The following section will provide you with the detail steps required to perform a new installation of Dbvisit Standby version 7.
Installation Steps
You can follow 7 basic steps to install Dbvisit Standby version 7. This section cover the installation of Dbvisit Standby on a Non-RAC environment.
...
In version 7 the default installation location is /usr/dbvisit. We do recommend you use the default or /usr/local/dbvisit. This directory will be known as the Dbvisit Base directory from version 7.
Step 1: Create "Dbvisit Base" Directory
The first step is to create the Dbvisit Base directory. This is the directory into which Dbvisit Standby will be installed into. The default location is /usr/dbvisit
...
| Code Block | ||||||
|---|---|---|---|---|---|---|
| ||||||
[root@dbvlin101 ~]# cd /usr [root@dbvlin101 usr]# mkdir dbvisit [root@dbvlin101 usr]# chown -R oracle:oinstall dbvisit [root@dbvlin101 usr]# ls -ld dbvisit drwxr-xr-x 2 oracle oinstall 4096 Aug 21 11:13 dbvisit |
Step 2: Download Latest Software
The first step is to download the latest available version from the Dbvisit web site http://www.dbvisit.com
...
| Code Block | ||||
|---|---|---|---|---|
| ||||
oracle@dbvlin101[/home/oracle/7.0]: ls -l total 44084 -rw-r--r-- 1 oracle oinstall 45089534 Aug 21 10:40 dbvisit-standby7.0.01_linux.zip |
Step 3: Extract Software
The next step is to extract the software downloaded in the previous step as well as updating the install-dbvisit file permission to allow the execution option.
...
| Code Block | ||||
|---|---|---|---|---|
| ||||
oracle@dbvlin101[/home/oracle/7.0]: unzip dbvisit-standby7.0.01_linux.zip Archive: dbvisit-standby7.0.01_linux.zip inflating: dbvisit-standby7.0.01.tar inflating: README.txt inflating: online_user_guide_reference.txt oracle@dbvlin101[/home/oracle/7.0]: ls -l total 109844 -rw-r--r-- 1 oracle oinstall 45089534 Aug 21 10:40 dbvisit-standby7.0.01_linux.zip -rw-rw-rw- 1 oracle oinstall 67165696 Aug 19 18:10 dbvisit-standby7.0.01.tar -rw-rw-rw- 1 oracle oinstall 393 Jul 10 23:21 online_user_guide_reference.txt -rw-rw-rw- 1 oracle oinstall 87875 Aug 19 14:17 README.txt oracle@dbvlin101[/home/oracle/7.0]: tar -xf dbvisit-standby7.0.01.tar oracle@dbvlin101[/home/oracle/7.0]: ls -l total 109848 drwxr-xr-x 6 oracle oinstall 4096 Aug 21 10:50 dbvisit -rw-r--r-- 1 oracle oinstall 45089534 Aug 21 10:40 dbvisit-standby7.0.01_linux.zip -rw-rw-rw- 1 oracle oinstall 67165696 Aug 19 18:10 dbvisit-standby7.0.01.tar -rw-rw-rw- 1 oracle oinstall 393 Jul 10 23:21 online_user_guide_reference.txt -rw-rw-rw- 1 oracle oinstall 87875 Aug 19 14:17 README.txt |
Step 4: Running the Dbvisit Installer
The next step in the process is to start the Dbvisit Standby installer. Once you have extracted the tar archive, you will notice a new "dbvisit" directory.
...
| Code Block | ||
|---|---|---|
| ||
oracle@dbvlin101[/home/oracle]: ps -ef|grep dbv oracle 6410 1 0 Aug21 ? 00:00:01 ./dbvnetd start oracle 6411 6410 0 Aug21 ? 00:00:00 ./dbvnetd start oracle 6414 6410 0 Aug21 ? 00:00:00 ./dbvnetd start oracle 6415 6410 0 Aug21 ? 00:00:00 ./dbvnetd start oracle 6416 6410 0 Aug21 ? 00:00:00 ./dbvnetd start oracle 6431 1 0 Aug21 ? 00:00:01 ./dbvserverd start oracle 6432 6431 0 Aug21 ? 00:00:00 ./dbvserverd start oracle 6434 6431 0 Aug21 ? 00:00:01 ./dbvserverd start oracle 6436 6431 0 Aug21 ? 00:00:00 ./dbvserverd start |
Step 5: Repeat Installation on Standby Server
Dbvisit Standby needs to be installed on the Primary server as well as on the Standby server.
Before you continue with the next step you need to make sure you follow Step 1 to 5 above on all the servers in the standby configuration. When doing this, it is important to make sure the Dbvnet password provided during installation is the same on all the servers where you are installing Dbvnet. This password is used for secure communication and if different passwords are used between the primary and standby servers, you will not be able to establish a connection between these servers using Dbvnet.
Step 6: Testing Dbvnet Communication
Once you have Dbvisit Standby installed on all the servers, it is important to make sure that the communication between the Primary and Standby servers are working. This can be done by making use of the Dbvnet Test utility provided with the Dbvisit Standby installation - dbvnet-test, which is located under the dbvnet sub directory. When using the default path this utility will be in /usr/dbvisit/dbvnet/dbvnet-test
...
You should run the above tests from both the primary and standby servers to ensure communication between primary and standby servers can be established. Once this is done you can continue to the next step which is the creation of a Dbvisit Standby Database Configuration (DDC) file.
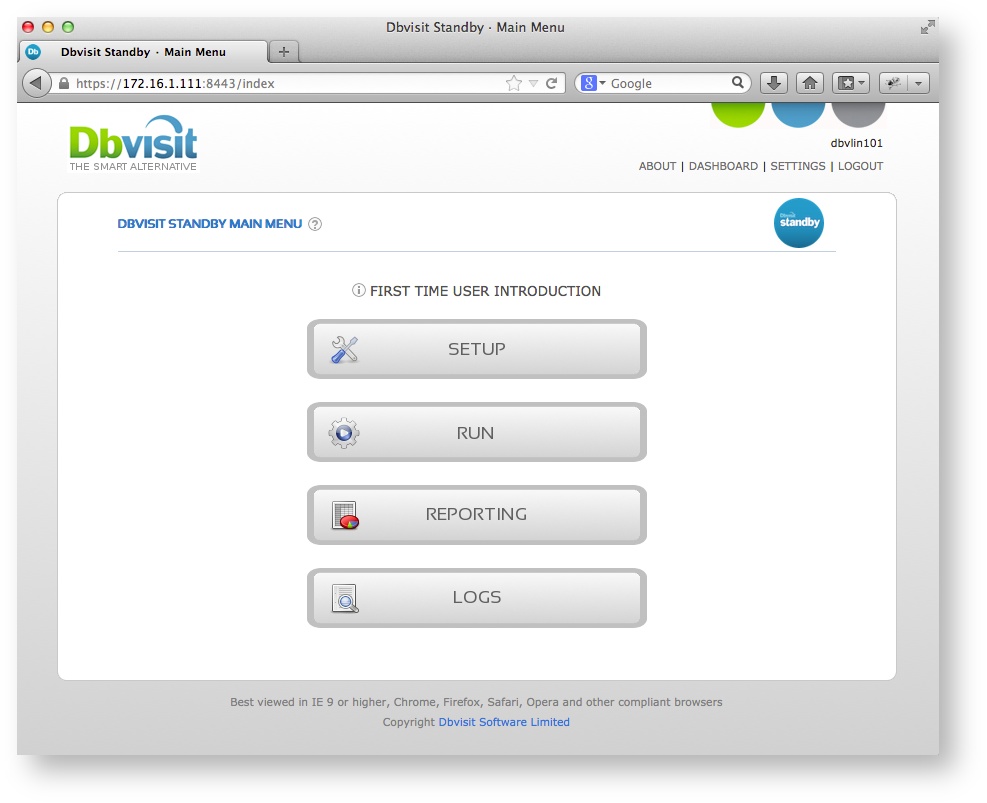
Step 7: Accessing the GUI (Dbvserver)
If you selected to install the Dbvserver (GUI) and allowed the auto start option during the installation process you should now be able to connect to the web based GUI interface.
...
When asked for a username and password you need to provide the username and password specified during installation.
Summary
If you followed the above steps you should now have Dbvisit Standby installed on both your primary and standby servers.
...